How to Switch Find My Location from iPhone to Macbook? 8 Best Ways
Currently, there is no direct option to set your MacBook as the primary device for location sharing in the Find My app. This functionality was available in earlier versions but has been removed in recent updates. Many users have been wondering how to Change My Location from iPhone to MacBook or if they could work it out anyhow.
Part 1: Can I Use My MacBook as My Find My Location?
You cannot use your MacBook as your primary location-sharing device in the Find My app instead of your iPhone. In recent updates to the Apple Find My app, the ability to set your MacBook as the primary device for location sharing has been disabled. That said, older macOS versions, like Catalina, are good, but newer updates don't allow the functionality.
Why Was This Feature Removed?
Wi-Fi positioning systems, which are used in MacBooks, approximate a location by using nearby network identifiers. Still less precise than that offered by GPS-based tracking on a mobile phone, this method is far less exact. This change was made by Apple most probably to have more reliable and accurate location sharing.
First understand location sharing limitations
- No Direct Switch:
Currently, there is no option to set your Mac's location as your main location in the Find My app. This feature was removed in iOS 13 and is not available for macOS users. Users have reported that they can no longer see the "Use this device as My Location" option on their MacBooks. - Current Functionality:
While you can share your MacBook's location using the Find My app, it does not replace the iPhone as the device that shares your location. The MacBook can only share its location with others, but it cannot act as your primary location device in Find My.
Part 2: How to Change My Location from iPhone to MacBook [8 Best Free Ways]
Changing your location from your iPhone to your MacBook can be useful for various reasons, such as using your Mac for work or sharing your location with family and friends. Although Apple does not provide a direct option to switch your location from iPhone to MacBook, you can still share your MacBook's location by following these methods:
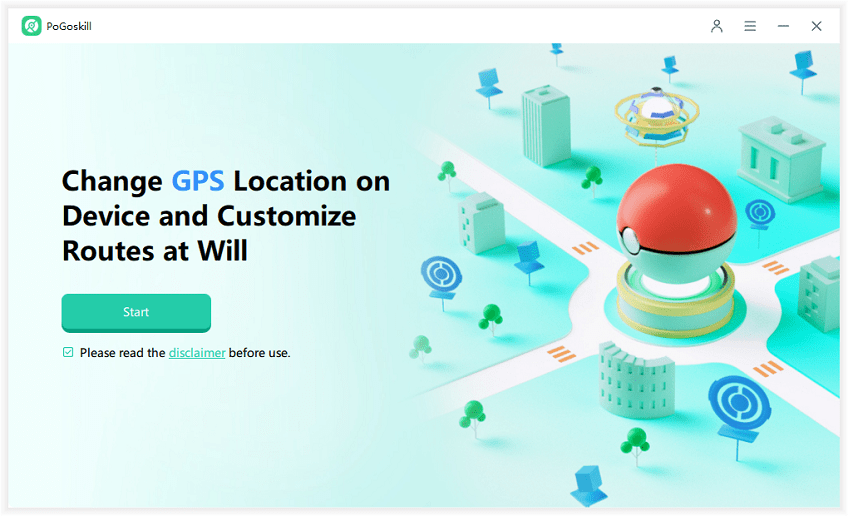
Way 1: Use PoGoSkill to Change iPhone Location on MacBook Without Jailbreak
A reliable tool for simulating GPS locations on an iPhone that hasn’t been jailbroken is called PoGoSkill. When connected to a MacBook, you can easily spoof the GPS location of your iPhone. PoGoskill Location Changer enables you to switch between displayed locations without changing system files.
For those exploring how to switch location from iPhone to MacBook, PoGoSkill offers a simple solution.
-
Step 1Click the Download button to Download and install PoGoskill program to your Mac or PC.
-
Step 2Plug your iPhone via a USB cable, Launch it and Click "Start."

-
Step 3Choose the area you want to be on the map, and click "Start to Modify."

 Secure Download
 Secure Download
Way 2: Change My Location from iPhone to iPad on Find My iPhone
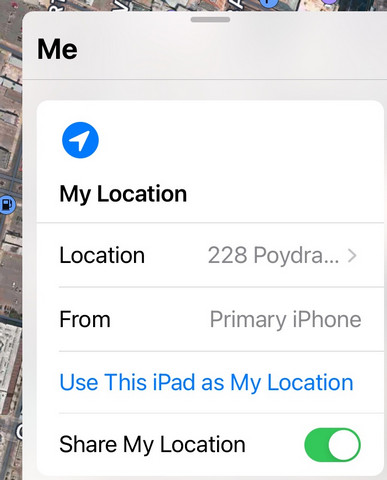
If you have an iPad, you can use the iPad my location instead of the iPhone location. This method does not require using a computer like a Mac, and the operation is simpler. To change your location sharing from iPhone to iPad using Find My app, follow these steps:
- Tap on the Settings app on your iPad.
- At the top of the Settings menu, tap on your Apple ID (your name).
- In the Apple ID settings, select Find My.
- Scroll down to find the section labeled My Location. If it does not indicate "This Device" next to it, tap on the option that says Use This iPad as My Location.
- After tapping, the setting will update, and "My Location" will now show "This Device," indicating that your iPad is now set as your location-sharing device.
- If you want to switch back to your iPhone or another device in the future, repeat these steps on that device.
Way 3: Turn on Location Services on MacBook
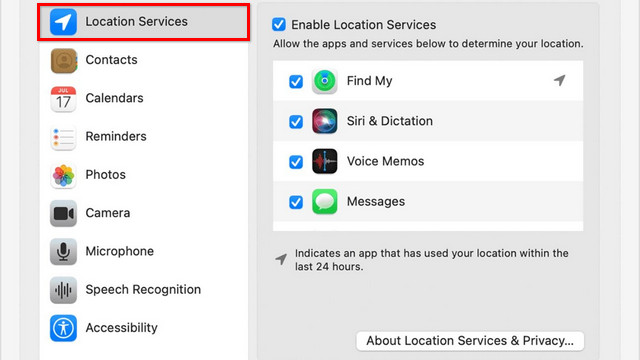
To Share location from MacBook instead of your iPhone, you need to enable Location Services on your Mac and ensure that the relevant applications can access this information.
- Click on the Apple menu and click on "System Preferences."
- Go to select 'Privacy & Security' then 'Location Services.'
- When you check the box to do that, you’ve enabled location services for an app like Maps or Safari. This feature lets your Mac approximate your location from nearby Wi-Fi networks.
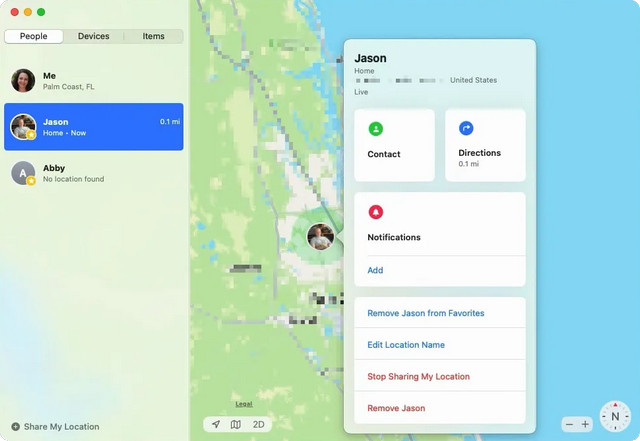
Way 4: Share location from MacBook instead of iPhone
If you want to share your location with friends or family, you can do so through the Find My app by adding people to share your location with. For users curious about how to change sharing location from iPhone to Mac, here’s how:
- Go to your MacBook and open “Find My”
- Go to People, then click on Me.
- From the settings, turn on "Share My Location."
- While you cannot make your MacBook the primary location device, you can use this feature to follow your family or friends who will need your help.
Way 5: Share Your Location from Messages App on Mac
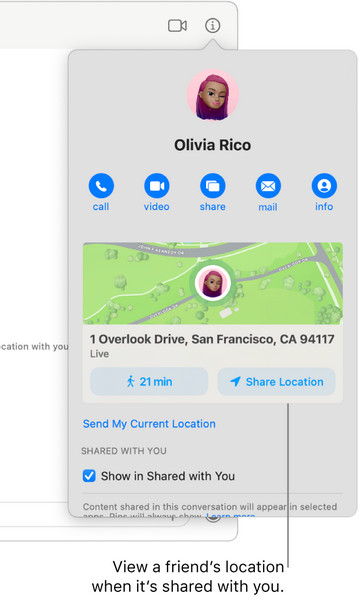
You can easily share your location from your MacBook using the Messages app, making it convenient for friends and family to know where you are.
- Click on the Messages app on your MacBook.
- Get started with a conversation or pick an ongoing one.
- Click the "Info" button at the top.
- Select "Share My Location" and a duration. Sharing real-time updates with friends and family is perfect for this approach.
Way 6: Drop a Pin and Share Your Location in Apple Maps
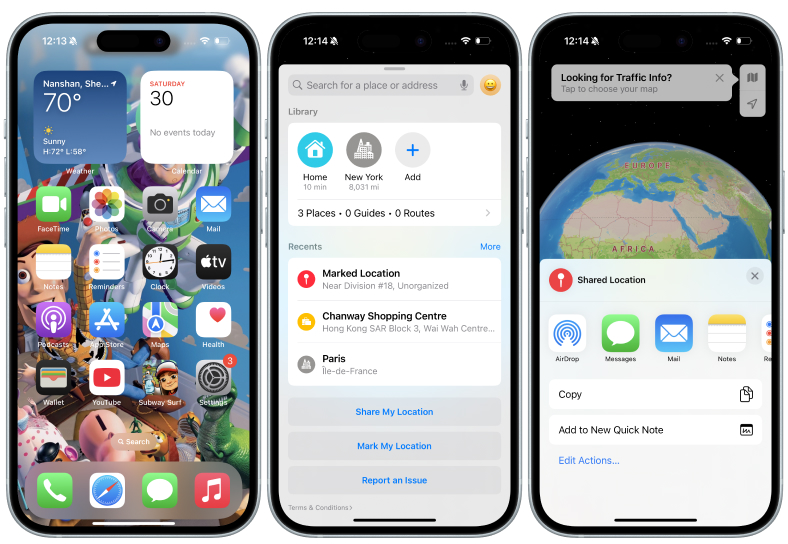
You can easily place and manage pins in Apple Maps on Mac to hide your true location sharing. To pin a location in Apple Maps on your Mac, follow these steps:
- Launch the Maps application on your Mac.
- Place or drop a pin on your chosen location.
- From the toolbar, click the "Share My Location" button.
- Select the Apple (Mail, Messages, or AirDrop) you will share the location of. This works great for meeting points or sending directions.
Way 7: Share fake iPhone location via Google Maps
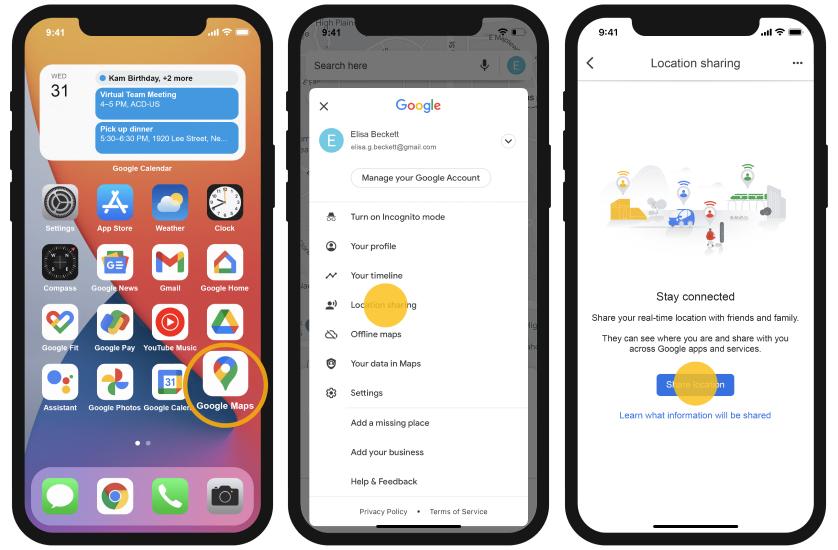
If Apple Maps is not your preference, Google Maps is a great alternative. You can share your iPhone location using Google Maps, but it requires a few steps since Google Maps does not directly integrate with Apple's location services. Here’s how to do it:
- Jump over to the Google Maps app on your MacBook.
- Ensure you are signed into the same Google account that you use on your iPhone.
- You can search for a location or select "Your Location."
- The fact that this method is so versatile means that you can share detailed maps with other devices.
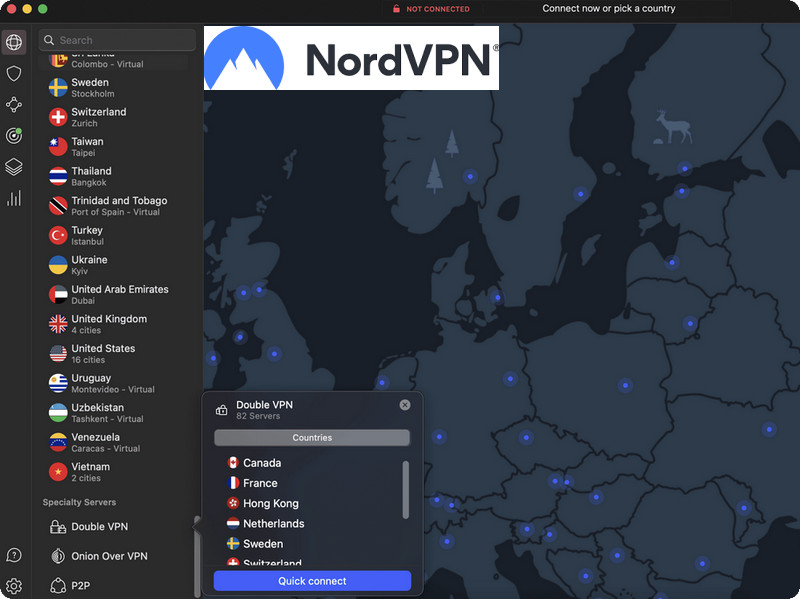
Way 8: Change iPhone location on your Mac with NordVPN
Using VPN is one of the effective ways to change your location on a MacBook. It not only allows you to appear in different geographical locations but also enhances your online privacy and security. Steps to uchange your location using NordVPN on MacBook:
- Visit the NordVPN website, Install and download NordVPN on your MacBook.
- Open the app and log in to your account.
- We find ourselves connecting to a server in the location of your choice.
- Using apps or websites with location-based verification will verify your location. For bypassing geo restrictions, it’s especially useful, which means it’ll further your privacy.
Part 3: FAQs about Changing Your Location to MacBook
Here are some frequently asked questions (FAQs) about changing your location to your MacBook Air or MacBook Pro, along with relevant answers:
1. How do I enable location sharing for Family Sharing on my MacBook?
So go to System Preferences > Family Sharing > Location Sharing and make sure that your MacBook is enabled to provide its location under your Apple ID.
2. How do I turn on location for a specific app on MacBook?
Go to System Preferences > Privacy & Security > Location Services and find the app option on the list. Tick the checkbox next to this option to allow this app for its location access.
3. How do I change my country location on my Mac?
Go to System Preferences > Language & Region, change your region settings and relaunch any apps to make changes. you can also use a VPN or PoGoskill to effectively change both your virtual location and adjust your Apple ID settings to access region-specific content on MacBook.
4. How to change your network location on a Mac?
Go to Apple menu > System Preferences > Network, click on this dropdown and select Edit Locations, then save. This feature allows you to manage different network configurations for various environments, such as home, work, or public Wi-Fi.
5. Why does my MacBook not show up on Find My?
If your MacBook is not showing up on Find My, make sure Find My Mac is turned on. Go to System Preferences > Apple ID > iCloud, and check if Find My Mac is enabled. If it’s not, turn it on and allow it to use your location.
Final Summary
The above article introduces 8 best ways to change your location from iPhone to MacBook. While there is no direct way to make your MacBook the primary device for sharing your location instead of an iPhone, you can effectively manage and share your location through various settings and applications.
By enabling Location Services, using the Find My app, or employing PoGoskill for virtual location changes, you can customize how you share and manage your whereabouts across devices.
The Best Location Changer
- One-Click Teleportation: Instantly teleport anywhere you want in just one click.
- No Jailbreak Required: Runs seamlessly without jailbreaking and supports iOS 18 & Android 15.
- Multiple Movement Modes: Offers joystick mode and two-point route mode for controlling character movement in games.
- Multiple App Compatibility:Control movement direction in real-time, applicable to Pokémon GO, MHN, Snapchat, Tinder, Hinge, etc.
 18.6K
18.6K
Reviews
 36.8K
36.8K
Downloaded Users
